Monday, July 25, 2011

the process of vanishing point~

this is the last part that im using the photoshop to edit my assignment 1.

i had learnt a part called vanishing point for my assignment.

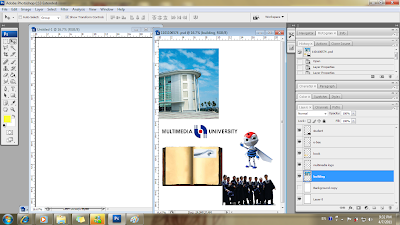
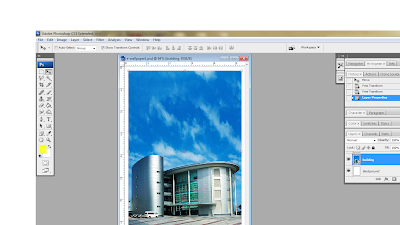
1st , i have to crop out the mmu logo for the vanish point. after cropping out the logo, i have to hide all the objects in my picture.
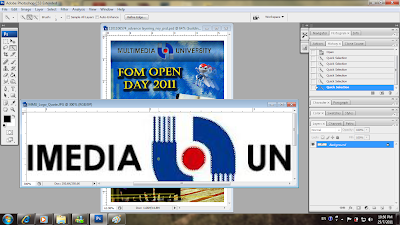
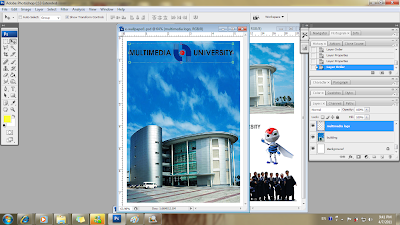
and left the logo for the vanish part. after that, i have to change the name into "mmu logo" for my logo's name.


now, i have to click ctrl+a and then ctrl+x to do my vanishing


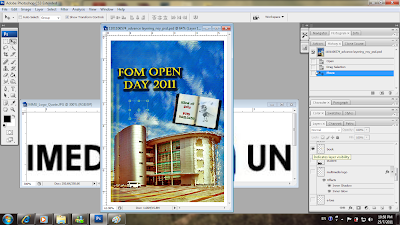
after that, the mmu logo disappeared and i have to click filter, vanish point to start.


i have to draw the line on the part which i need to drag my mmu logo inside.


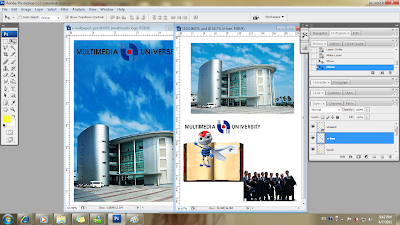
after that, i have to drag and visible all the objects which i hide them just now. this is the end of my assignment, DONE~ :)


Monday, July 18, 2011

the process of doing the retouching

today,i'm going to explain on how to do for my retouching e-wallpaper.


this is my complete e-wallpaper, and the following pictures shows what im using for my e-wallpaper.


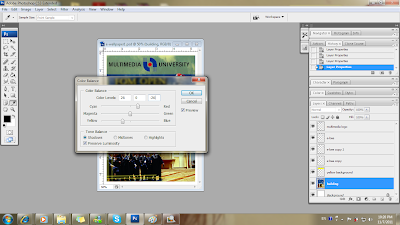
1st i have to adjust the color of the building picture.


this picture showing im adjusting the shadows


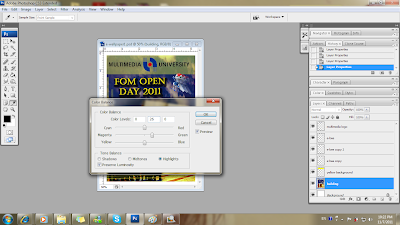
adjusting the midtones


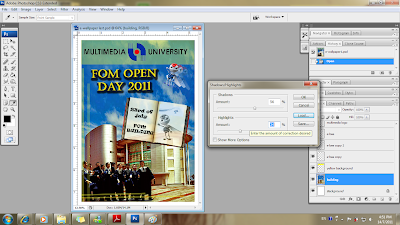
and this is for highlight.


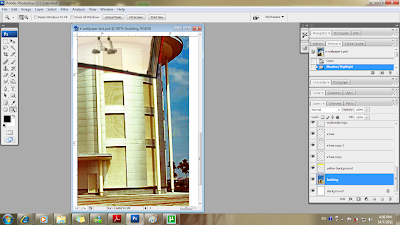
after adjusting the colors, its the time for me to adjust the brightness and the contrast for the building picutre.


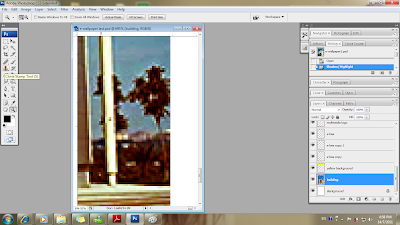
now, i have to remove the trees behind the building, before i start to erase it, i have to zoom in by using zoom in tools.


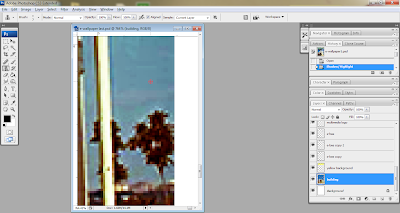
i have to use the "clone stamp tool" to erase the trees by replace the sky onto it.


the process of using the clone stamp tool


after erasing n replace by the sky.


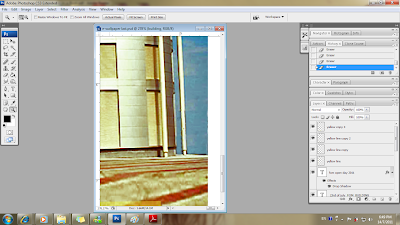
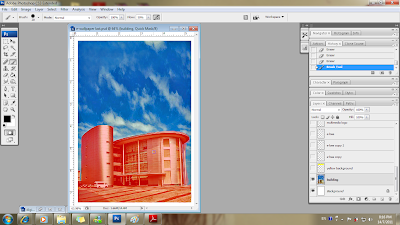
now, i have to edit my sky.im using the brush tools to brush up my building.


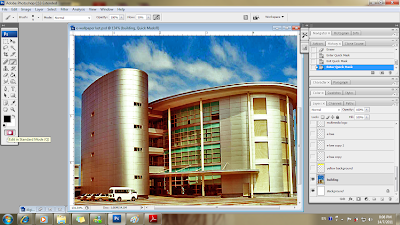
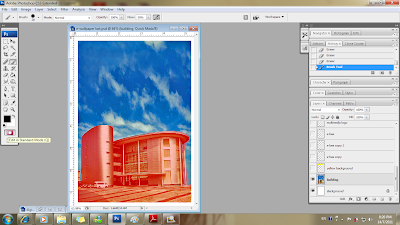
after clicking the brush tools, i have to click on the "edit in standard mode" to brush my building.


im using the brush tools to brush my building.


next, i have to click back the edit in standard mode for next edit.


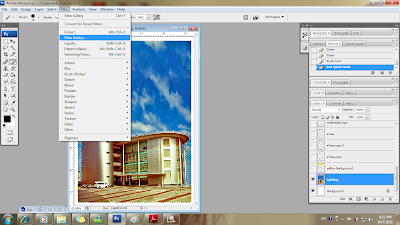
i click on the "filter" and choose the "filter gallery" to do my sky edit.


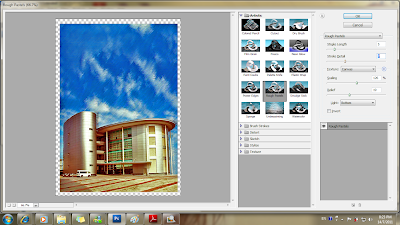
im choosing the "rough pixel" and i need to adjust the "stroke length and detail" for the sky~


now is the building turn to do the edit.i have to do the same previous steps and brushing up my sky and building.i jz left the part which i need to edit for the editing


im using spatter to edit the small part of the building~


im using sumi-e for my book.


texturizer for my yellow background


i gonna edit my book again.now, im using the liquify to edit the book.


this picture shows that im editing the brightness and the contrast for the students' picture.


i plan to edit the multimedia logo by putting inner shadow and glow


finally i choose the best gradient overlay for it.


Sunday, July 10, 2011

the photo for group's website

im the group leader of the RAINBOW group. i decided to allocate the task for my groupmate.

our tutorial's group leader hoped we can finish the task which he asked us to do by time.
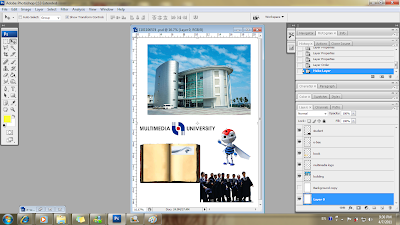
the 1st that he needed us to do is the raw material selection.

the picture that i choose majority are beaches, and i need the whole photo to put on my website~but i still need to do a little cropping for some picture~


Saturday, July 9, 2011

THE PROPOSAL OF PERHENTIAN ISLAND

i'm the leader of the RAINBOW GROUP. so, i have to devide the task for my groupmate to do.

my task is to help my groupmate to solve the problem they are facing, designing the draft for the web, allocating the task to the groupmate,doing introduction, objectives, doing flow chart, and the sub-topic for the group.


i have to intro about Perhentian Island, where is it located, why we have to choose Perhentian Island as our main Island.


i have to list list down the objectives for the proposal.

This is to make sure that everyone in our group will not running out of the topic that we are doing.


i have done with the flow chart for the group and design a draft of the web for the proposal.

finally, i have to do some research about what sub-topic have to put in our website.
Monday, July 4, 2011

The process of assignment2- Layering

Today, im going to explain about how to do the layering for my assginment 2.
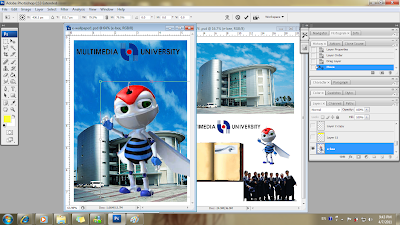
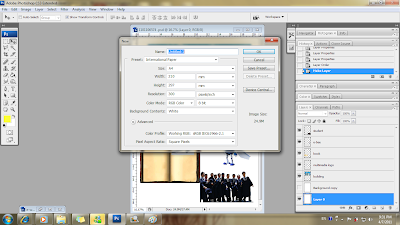
i open the photoshop, and open the raw material which i crop out on last assginment. next, i go to open a new A4 size blank picture to do the layering.


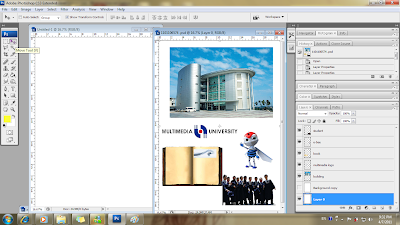
now, i have to start to move my picture from right into the left A4 size blank picture by using the "move tool".


i'm moving the building.


and i have to adjust the size of the building so that it fits my A4 size~


i'm moving the multimedia logo from right to left picture.


i have to adjust my multimedia logo nicely..


moving my e-bees now.


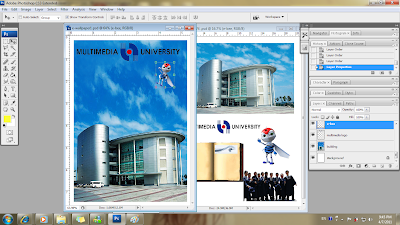
adjust my e-bee .


this is the place i want to put my e-bee


im putting my book and the students into the new picture.i try to adjust the opacity of the book so that it looks nicer.


i'm adding 1 more e-bee on my e-wallpaper.


adding 1 more e-bee


and the other e-bee into it.with white-black effect.


now, im using the"rectangular marquee tool" to create a yellow background


i pull the layer behind the multimedia logo.


doing the typing.


edit the words i type.


this is end of the process~

my e-wallpaper

i have learn alot in layering. the next i have to retouching my e-wallpaper.

hope my e-wallpaper will be nicer soon! :D